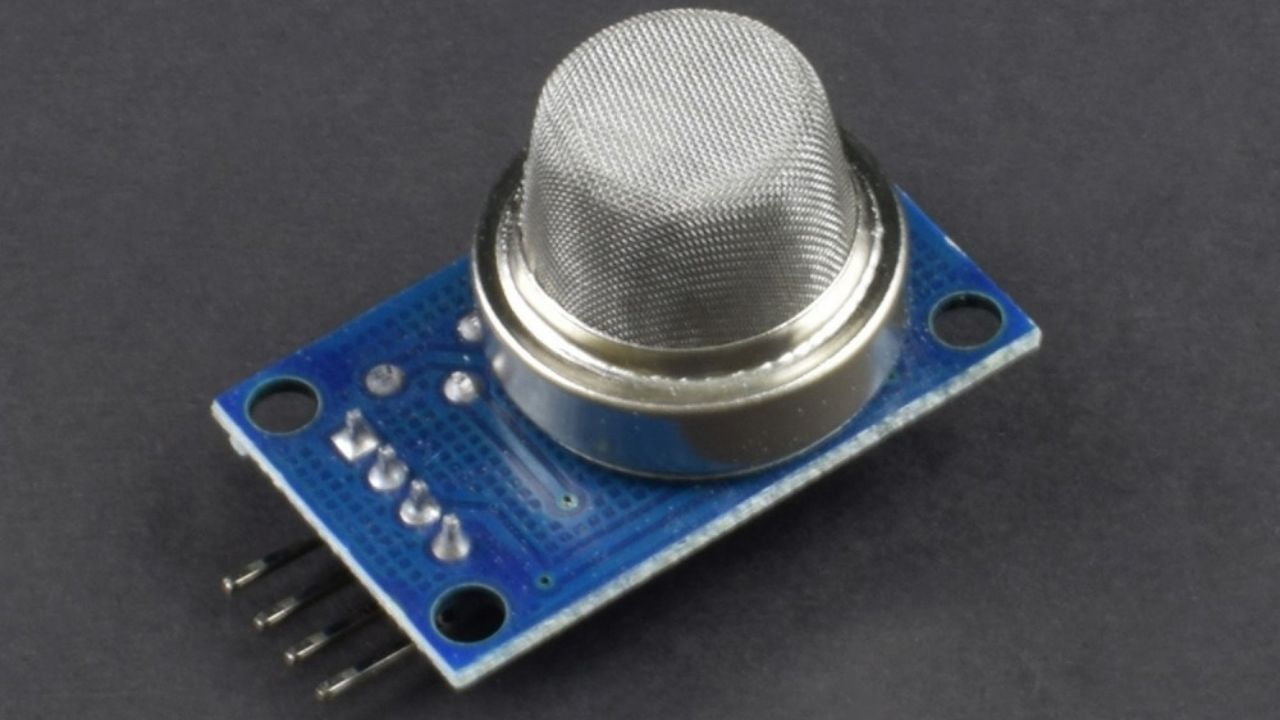
Sensor MQ-2 merupakan salah satu dari seri sensor gas. Sensor MQ-2 dapat digunakan untuk mendeteksi yang biasa ada di sekitar kita seperti LPG, i-butane, propane, methane, alcohol, Hydrogen, smoke. Kita dapat mengetahui hasil pembacaan dari sensor MQ-2 melalui serial monitor maupun media penampil lain, kali ini kita akan menampilkan hasil pembacaan sensor MQ-2 pada LCD.
[membership level=”0,1,2,4″]
1. Alat / Bahan
- Arduino IDE Download
- Library LiquidCrystal_I2C Download
- Arduino Uno 1 Buah
- Sensor MQ-2 1 Buah
- I2C 1 Buah
- LCD 1 Buah
- Project Board 1 Buah
Kemudian untuk mendapatkan komponen elektronik di atas silahkan temukan disini.
2. Skema Rangkaian

Berikut Rangkaian Mengakses sensor Gas MQ-2 dengan tampilan LCD 16×2
Keterangan:
- 5V – VCC MQ-2, VCC I2C LCD
- GND – GND MQ-2, GND I2C LCD
- A0 – Data MQ-2
- SDA – SDA I2C LCD
- SCL – SCL I2C LCD
[/membership]
3. Langkah Kerja
- Siapkan alat dan juga bahan
- kedua Lakukan proses wiring dengan menggunakan Gambar skematik rangkaian pada gambar
- ketiga Buka software Arduino IDE yang telah terinstal pada laptop/komputer
- Unduh semua library di atas dan masukkan libray tersebut dengan cara buka Arduino IDE pilih Sketch->Include Library->Add.Zip Library
- Ketikkan sketch program pada halaman Arduino IDE
- Masukan alamat I2C LCD pada sketch program, untuk mengetahui alamat I2C pelajari materi berikut:
Mencari Tahu Alamat I2C Pada Modul I2C - terakhir Lakukan proses uploading program
4. Sketch Program
Dapatkan puluhan ebook gratis dengan registrasi melalui tombol di bawah!
/* Program Mengakses sensor Gas MQ-2 dengan tampilan LCD 16x2 dibuat oleh Indobot */

#include <LiquidCrystal_I2C.h>      //Library I2C LCD
LiquidCrystal_I2C lcd(0x27,16,2);   //Alamat I2C

/************************Hardware Related Macros************************************/
const int calibrationLed = 13;                      //when the calibration start , LED pin 13 will light up , off when finish calibrating
const int MQ_PIN=A0;                                //define which analog input channel you are going to use
int RL_VALUE=5;                                     //define the load resistance on the board, in kilo ohms
float RO_CLEAN_AIR_FACTOR=9.83;                     //RO_CLEAR_AIR_FACTOR=(Sensor resistance in clean air)/RO,
                                                    //which is derived from the chart in datasheet

/***********************Software Related Macros************************************/
int CALIBARAION_SAMPLE_TIMES=50;                    //define how many samples you are going to take in the calibration phase
int CALIBRATION_SAMPLE_INTERVAL=500;                //define the time interal(in milisecond) between each samples in the
                                                    //cablibration phase
int READ_SAMPLE_INTERVAL=50;                        //define how many samples you are going to take in normal operation
int READ_SAMPLE_TIMES=5;                            //define the time interal(in milisecond) between each samples in
                                                    //normal operation

/**********************Application Related Macros**********************************/
#define         GAS_LPG             0
#define         GAS_CO              1
#define         GAS_SMOKE           2

/*****************************Globals***********************************************/
float           LPGCurve[3]  =  {2.3,0.21,-0.47};   //two points are taken from the curve.
                                                    //with these two points, a line is formed which is "approximately equivalent"
                                                    //to the original curve.
                                                    //data format:{ x, y, slope}; point1: (lg200, 0.21), point2: (lg10000, -0.59)
float           COCurve[3]  =  {2.3,0.72,-0.34};    //two points are taken from the curve.
                                                    //with these two points, a line is formed which is "approximately equivalent"
                                                    //to the original curve.
                                                    //data format:{ x, y, slope}; point1: (lg200, 0.72), point2: (lg10000,  0.15)
float           SmokeCurve[3] ={2.3,0.53,-0.44};    //two points are taken from the curve.
                                                    //with these two points, a line is formed which is "approximately equivalent"
                                                    //to the original curve.
                                                    //data format:{ x, y, slope}; point1: (lg200, 0.53), point2: (lg10000,  -0.22)
float           Ro           =  10;                 //Ro is initialized to 10 kilo ohms

void setup() {
  lcd.init ();
  lcd.setBacklight(HIGH);

  pinMode(calibrationLed,OUTPUT);
  digitalWrite(calibrationLed,HIGH);
  lcd.print("Calibrating...");                        //LCD display

  Ro = MQCalibration(MQ_PIN);                         //Calibrating the sensor. Please make sure the sensor is in clean air
  digitalWrite(calibrationLed,LOW);

  lcd.clear();
  lcd.print("done!");                                 //LCD display
  lcd.setCursor(0,1);
  lcd.print("Ro= ");
  lcd.print(Ro);
  lcd.print(" kohm");
  delay(3000);
}

void loop() {
  //Pilih jenis gas yang akan dideteksi dengan menghilangkan komentar "//"

  long iPPM_LPG = 0;
  //long iPPM_CO = 0;
  //long iPPM_Smoke = 0;

  iPPM_LPG = MQGetGasPercentage(MQRead(MQ_PIN)/Ro,GAS_LPG);
  //iPPM_CO = MQGetGasPercentage(MQRead(MQ_PIN)/Ro,GAS_CO);
  //iPPM_Smoke = MQGetGasPercentage(MQRead(MQ_PIN)/Ro,GAS_SMOKE);

  lcd.clear();
  lcd.setCursor(0,0);
  lcd.print("Konsentrasi Gas");

  lcd.setCursor(0,1);
  lcd.print("LPG: ");
  lcd.print(iPPM_LPG);
  lcd.print(" ppm");

  delay(200);
}

float MQResistanceCalculation(int raw_adc)
{
  return ( ((float)RL_VALUE*(1023-raw_adc)/raw_adc));
}

float MQCalibration(int mq_pin)
{
  int i;
  float val=0;

  for (i=0;i<CALIBARAION_SAMPLE_TIMES;i++) {            //take multiple samples
    val += MQResistanceCalculation(analogRead(mq_pin));
    delay(CALIBRATION_SAMPLE_INTERVAL);
  }
  val = val/CALIBARAION_SAMPLE_TIMES;                   //calculate the average value
  val = val/RO_CLEAN_AIR_FACTOR;                        //divided by RO_CLEAN_AIR_FACTOR yields the Ro
  return val;                                                      //according to the chart in the datasheet

}

float MQRead(int mq_pin)
{
  int i;
  float rs=0;

  for (i=0;i<READ_SAMPLE_TIMES;i++) {
    rs += MQResistanceCalculation(analogRead(mq_pin));
    delay(READ_SAMPLE_INTERVAL);
  }

  rs = rs/READ_SAMPLE_TIMES;

  return rs;
}

long MQGetGasPercentage(float rs_ro_ratio, int gas_id)
{
  if ( gas_id == GAS_LPG ) {
     return MQGetPercentage(rs_ro_ratio,LPGCurve);
  } else if ( gas_id == GAS_CO ) {
     return MQGetPercentage(rs_ro_ratio,COCurve);
  } else if ( gas_id == GAS_SMOKE ) {
     return MQGetPercentage(rs_ro_ratio,SmokeCurve);
  }

  return 0;
}

long  MQGetPercentage(float rs_ro_ratio, float *pcurve)
{
  return (pow(10,( ((log(rs_ro_ratio)-pcurve[1])/pcurve[2]) + pcurve[0])));
}
Kesimpulan:
Program bekerja dengan mendeteksi gas sekitarnya. Cobalah untuk memberikan gas korek api didepan sensor maka hasil pembacaan sensor akan tertampil pada layar LCD. Hasil yang ditampilkan merupakan data analog.
Mau belajar elektronika dasar? Arduino? atau bahkan Internet of Things? Ikuti kursus online Indobot Academy!